Looking to set up a self-hosted WordPress site?
It is straightforward and can be done in several ways.
Unlike WordPress.com, however, a self-hosted WordPress site would cost you money for a web hosting plan, domain name purchase, premium WordPress plugin, etc.
In return for the expenses, a self-hosted blog or website offers ample customization opportunities with managed hosting, a WordPress theme, plugins, etc.
In today’s tutorial, let’s learn how to self-host WordPress in simple steps.
Frequently Asked Questions
Is WordPress Free To Host?
While the powerful WordPress CMS is free to install, you may have to pay a subscription fee for a web hosting provider.
However, WordPress.com offers free hosting for a blog or website with limited functionalities.
You can also avoid paying for a hosting provider with a local WordPress installation.
What Is the Difference Between WordPress.com and Self-Hosted WordPress?
WordPress.com is a managed WordPress hosting provider where you can set up and run a free WordPress site.
The free plan includes 3GB storage and doesn’t support WordPress plugins.
On WordPress.org, you can get the free WordPress CMS to self-host locally or online with a hosting provider.
Should You Self-Host WordPress?
You should self-host WordPress if you need a website beyond your hobby or personal journal blog. Self-hosted WordPress offers numerous functionalities to make a website look and work professionally.
You will enjoy full ownership of your self-hosted blog or website for monetization, with features to create a full-fledged e-commerce store.
What You’ll Need to Self-Host WordPress
Depending on the method you want to utilize to self-host WordPress, you will need the following:
- A functioning computer with a safe web browser. You should also have a moderate hardware configuration on your desktop for hosting WordPress locally.
- A reliable internet connection to download or set up WordPress. From registering a website domain to configuring WordPress with a web host must be performed online.
- A payment method with support for online purchases. Self-hosting WordPress requires paying for a domain name and web hosting services depending on your preference.
You will also need a valid address to register a domain name with ICANN. In addition, domain and hosting service providers require a contact and billing address.
How to Self-Host WordPress: Step-by-Step Instructions
WordPress can be self-hosted locally or with an online hosting plan.
Different types of web hosting providers are available in the WordPress ecosystem that can make it convenient to self-host WordPress. However, the service usually charges a subscription fee.
You can also self-host WordPress locally on your device if you have the advanced technical skills for a manual installation.
A locally hosted WordPress site also needs a capable system to run the database.
Option 1: Self-Host WordPress on a Commercial Hosting Company
Using a commercially available web host is the most convenient option to self-host WordPress.
This hosted solution makes it easier to create a WordPress site, with the background tools configured automatically by the hosting service.
However, you would still need to manage some aspects of the website, like installing and updating plugins, creating new pages, and configuring Google Analytics or other related tools.
Step 1: Register a Domain Address to Point to WordPress
Unlike WordPress.com, which offers a free subdomain for your website, you must have a registered domain name to self-host WordPress.
A domain name is a virtual address for a website consisting of a text string. It works similarly to a physical address, sending online visitors to the website when they type it on a web browser.
A domain name must be registered with the Internet Corporation for Assigned Names and Numbers (ICANN).
You can purchase a domain name for your WordPress website from one of the domain marketplaces. They usually include domain registration services on behalf of the purchaser.
Three of the most popular domain name providers include:
Head to any domain service providers listed above or beyond, then enter your preferred domain name in the search bar.
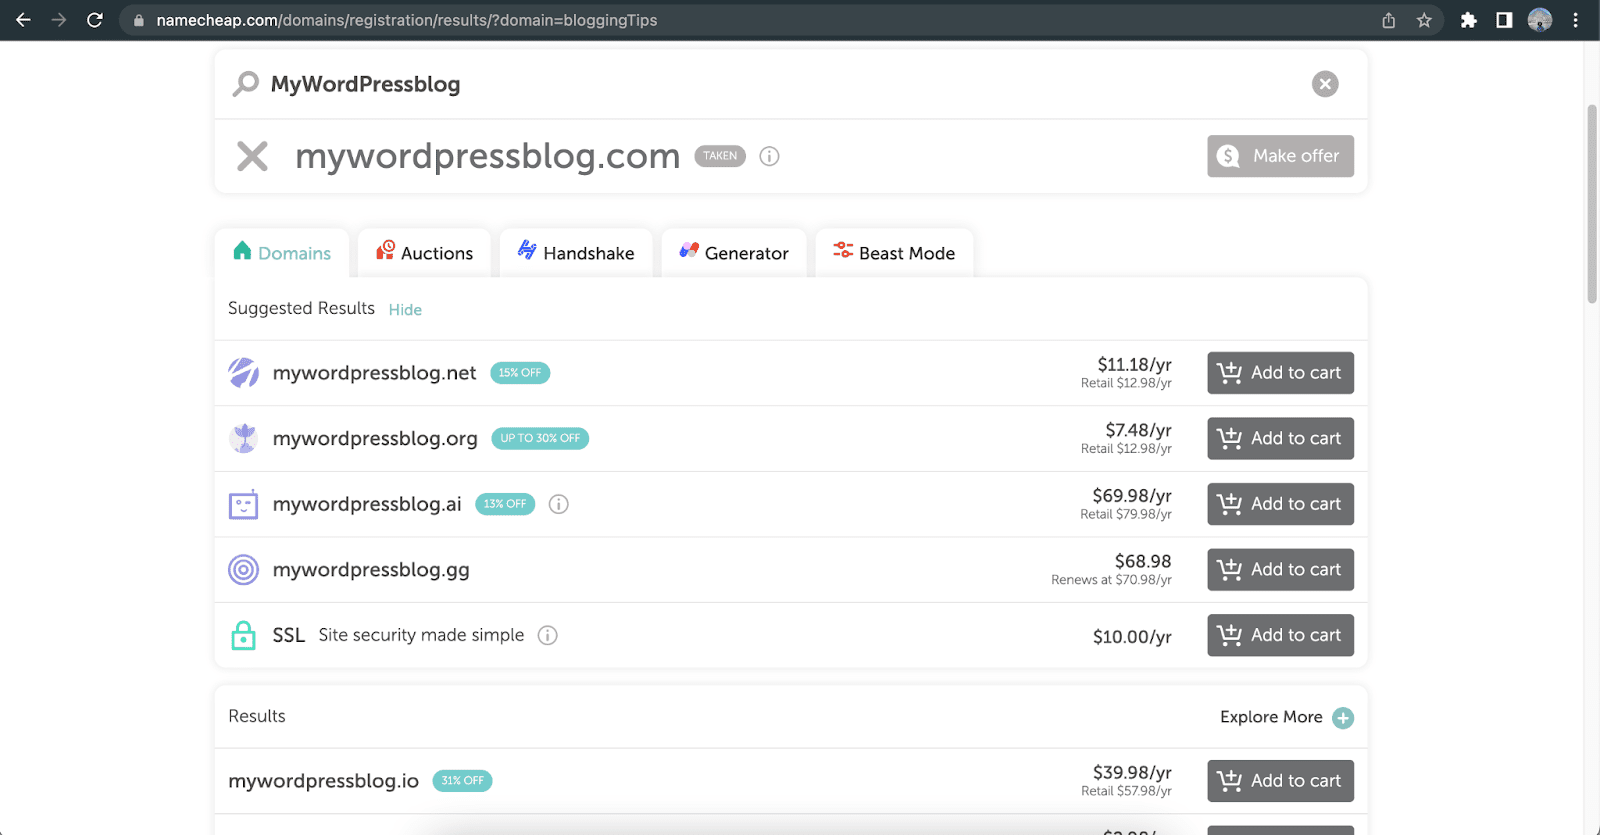
The price of the same domain name may vary on different platforms, so you should check the pricing of other domain companies, along with any free or paid add-ons.
The website should show you a list of available domain names related to your searched name. You can repeat the search as many times as you want with the same or different website address.
Choose an available domain and click the “Add to cart” button next to it. You may get offers for other related services depending on the domain name server provider.
If you want to decide about them later, click “Checkout.” Then, confirm your order during the registration period.
On the following screens, provide the necessary information to create an account and finish your purchases.
Previous account holders can simply log in to pay and register a new domain.
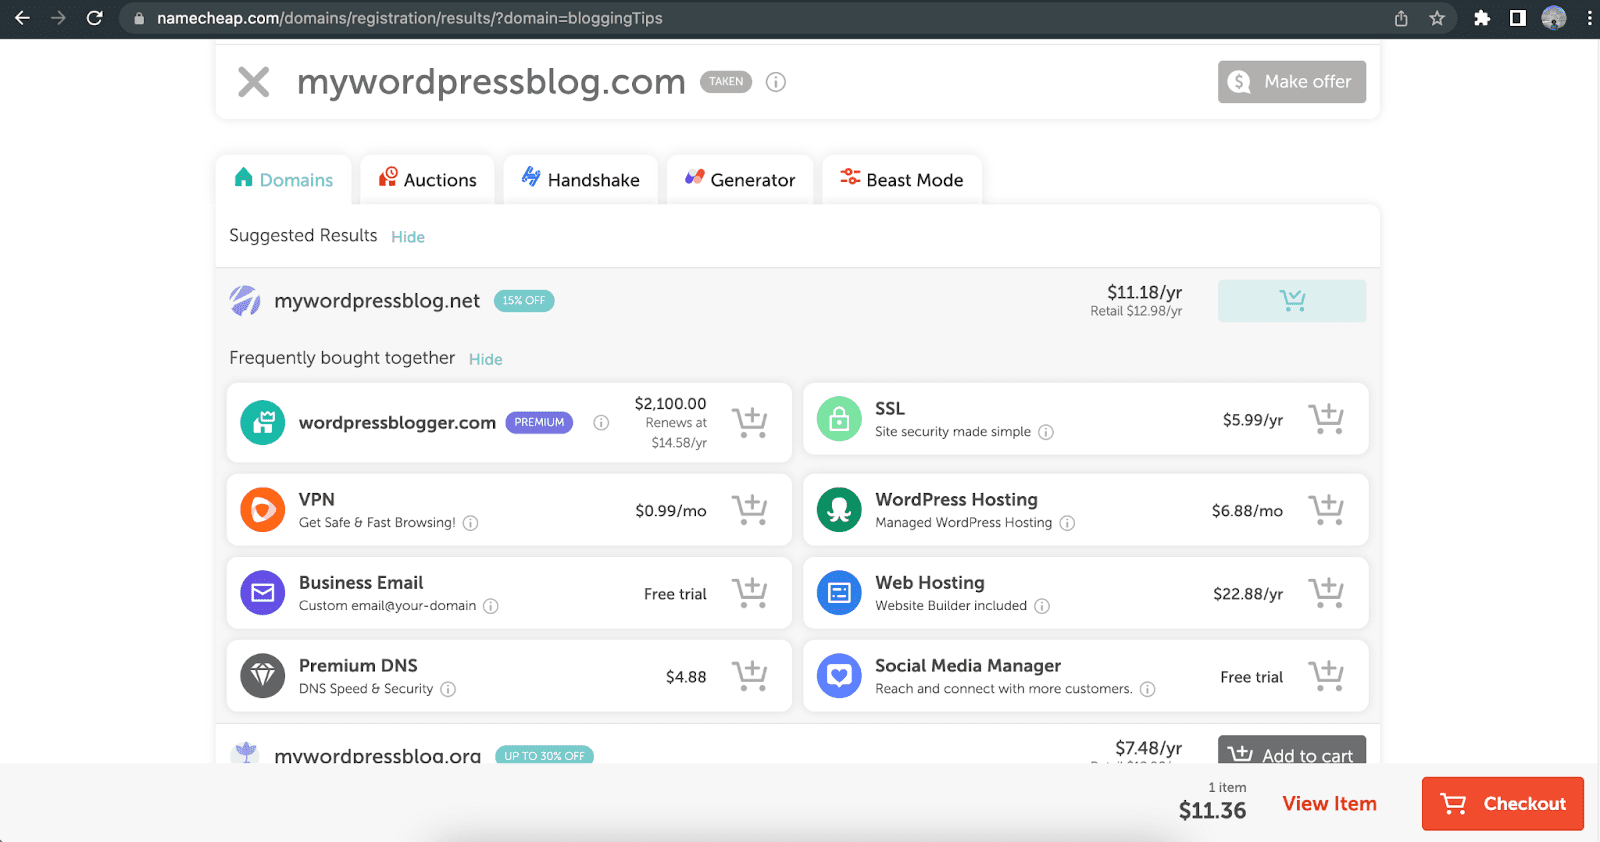
The exact steps vary depending on your chosen domain service company.
Still, you must have a supported payment system and billing address to pay for the domain name and its registration fees.
Some web hosting providers offer free domain registration for at least a year, so check that out before purchasing.
Step 2: Obtain the Service of a WordPress Hosting Provider
You will need a commercial web host to self-host your WordPress online. Fortunately, numerous options are available in various categories.
- Shared Hosting: This low-cost option is best for beginners who don’t require fast speed, colossal bandwidth, or dedicated servers for their website.
- VPS Hosting: Virtual Private Servers (VPS) offer shared hosting more efficiently, which is excellent for managing a small business website at a reasonably low price.
- Dedicated Server: If you aim for the ultimate performance boost, paying for an entire server to host WordPress is the way to go. This can be pretty expensive.
- Managed WordPress Hosting: Aimed exclusively toward hosting WordPress CMS, a managed hosting provider can ensure optimal service with pre-configured tools and software.
- Cloud Hosting: This is the latest web hosting solution for any website offering effortless scalability and pay-as-you-go hosting plans. You should have some technical knowledge to configure it.
Depending on your requirement and budget, you can choose any available WordPress hosting solutions.

In addition to pricing, check the available storage and bandwidth for a particular plan and the ease of WordPress installation.
A consistent track record of maximum uptime and a free domain are other features that make a web host more lucrative than others.
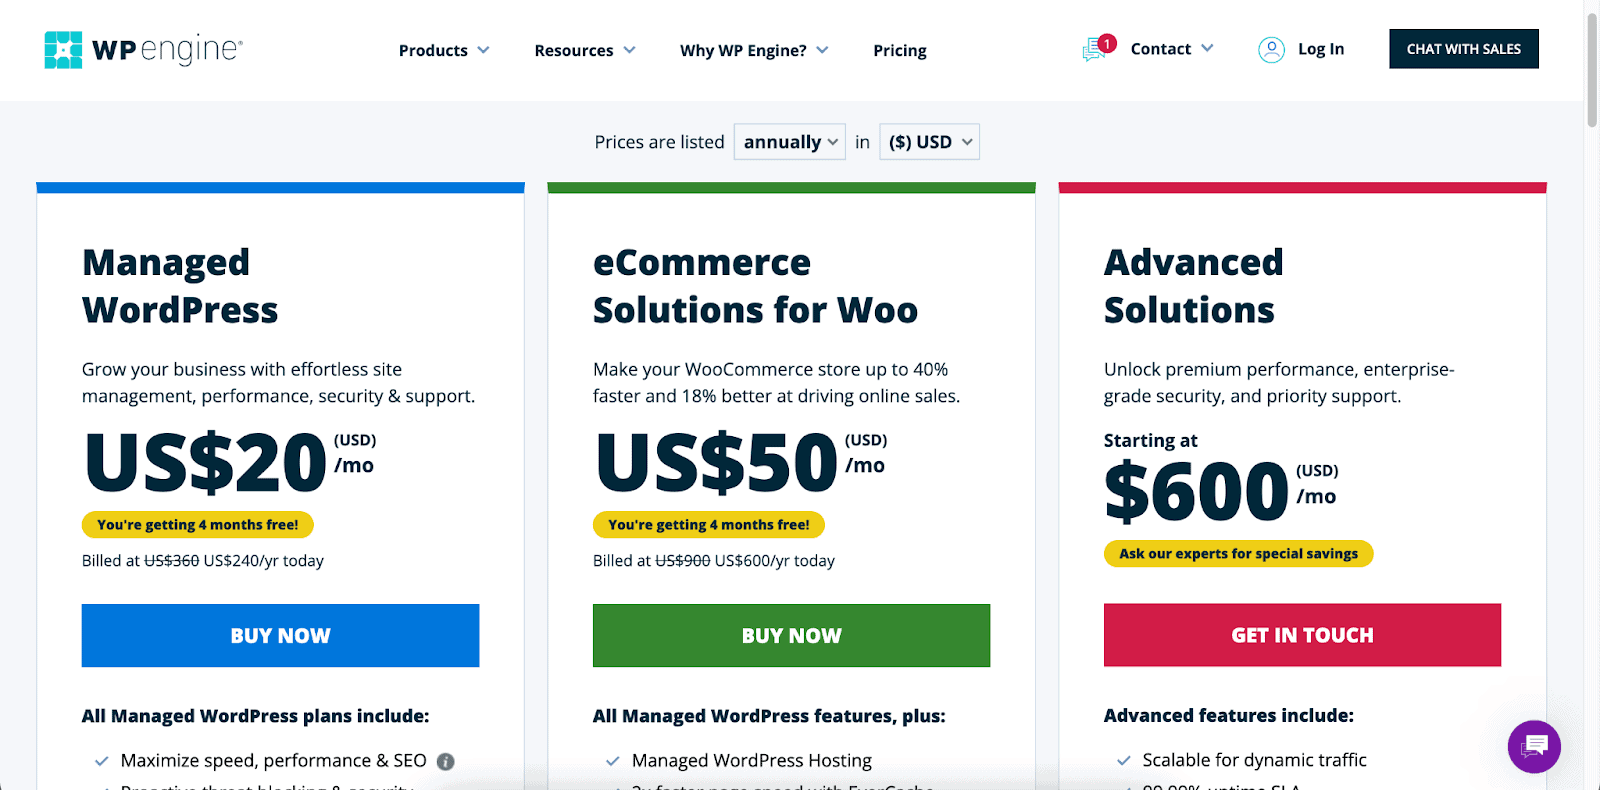
Some of the most prominent web hosting providers include BlueHost, SiteGround, Kinsta, WP Engine, etc.
Among the different companies and hosting types, we suggest managed WordPress hosting to remove many WordPress management responsibilities from your shoulders.
Once you find a hosting plan suited for your budget, hit the “Buy Now” or similar button to start your subscription process.
Follow the on-screen instructions to include any add-on features, create an account, and pay for your purchases.
Step 3: Install the Latest WordPress on Your Hosting Server
Upon completion of your registration with the hosting provider, you will get the details and link to access your host’s control panel.
Head to the control panel and log in using your username and password. You should get a host of tools like phpMyAdmin and cPanel to set up the backend of your website.
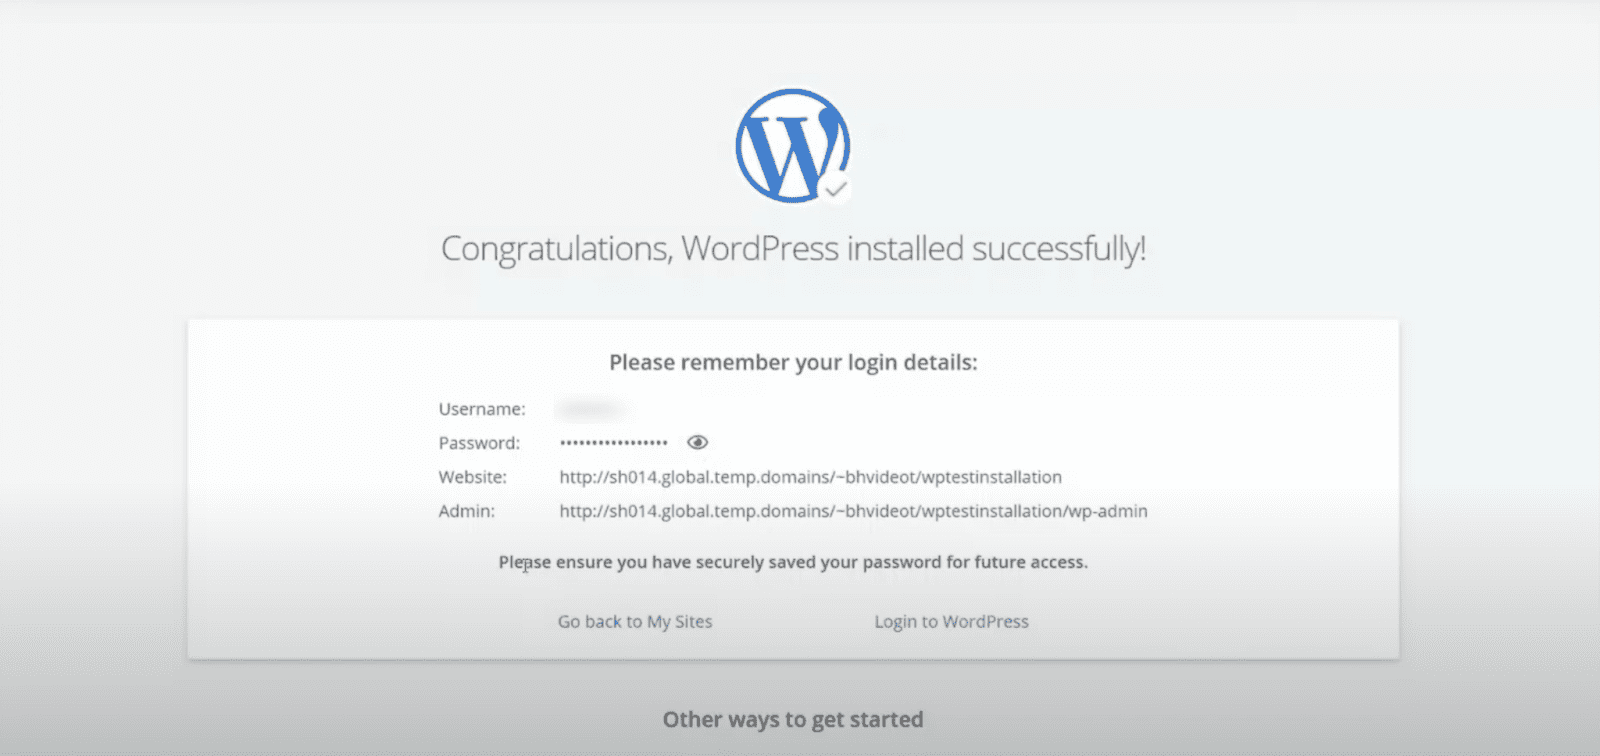
Most renowned web hosting providers like BlueHost offer a convenient 1-click WordPress installation. This is handy for creating your WordPress site with on-screen instructions.
You must provide your website’s domain name, create a user account to log in to the WordPress dashboard and choose a WordPress version.
The setup takes a little while to complete. Once done, you can access your self-hosted WordPress to design your website.
You may want to install a WordPress theme, create content, and install a few plugins to make your WordPress site beautiful and professional.
Once you are ready to launch your WordPress site to the public, simply point your site’s DNS to the hosting provider.
The exact steps to install and launch your WordPress site vary, depending on the hosting provider. Explore the web host’s help section to find yours.
Option 2: Self-Host WordPress Locally on Your Device’s Hardware
If you want to self-host WordPress only for development purposes, you can install it manually on your device’s hardware and host it locally.
It requires a WordPress developer with advanced coding skills and database management knowledge.
You can also make your locally-hosted WordPress site accessible online using a domain name and the following:
- Configure a WWW server software like Apache to make your computer database accessible online.
- Ensure your internet connection offers enough bandwidth to run your website from your computer.
- Keep your computer running all the time. If the computer hosting your website database switches off, your website will become inaccessible.
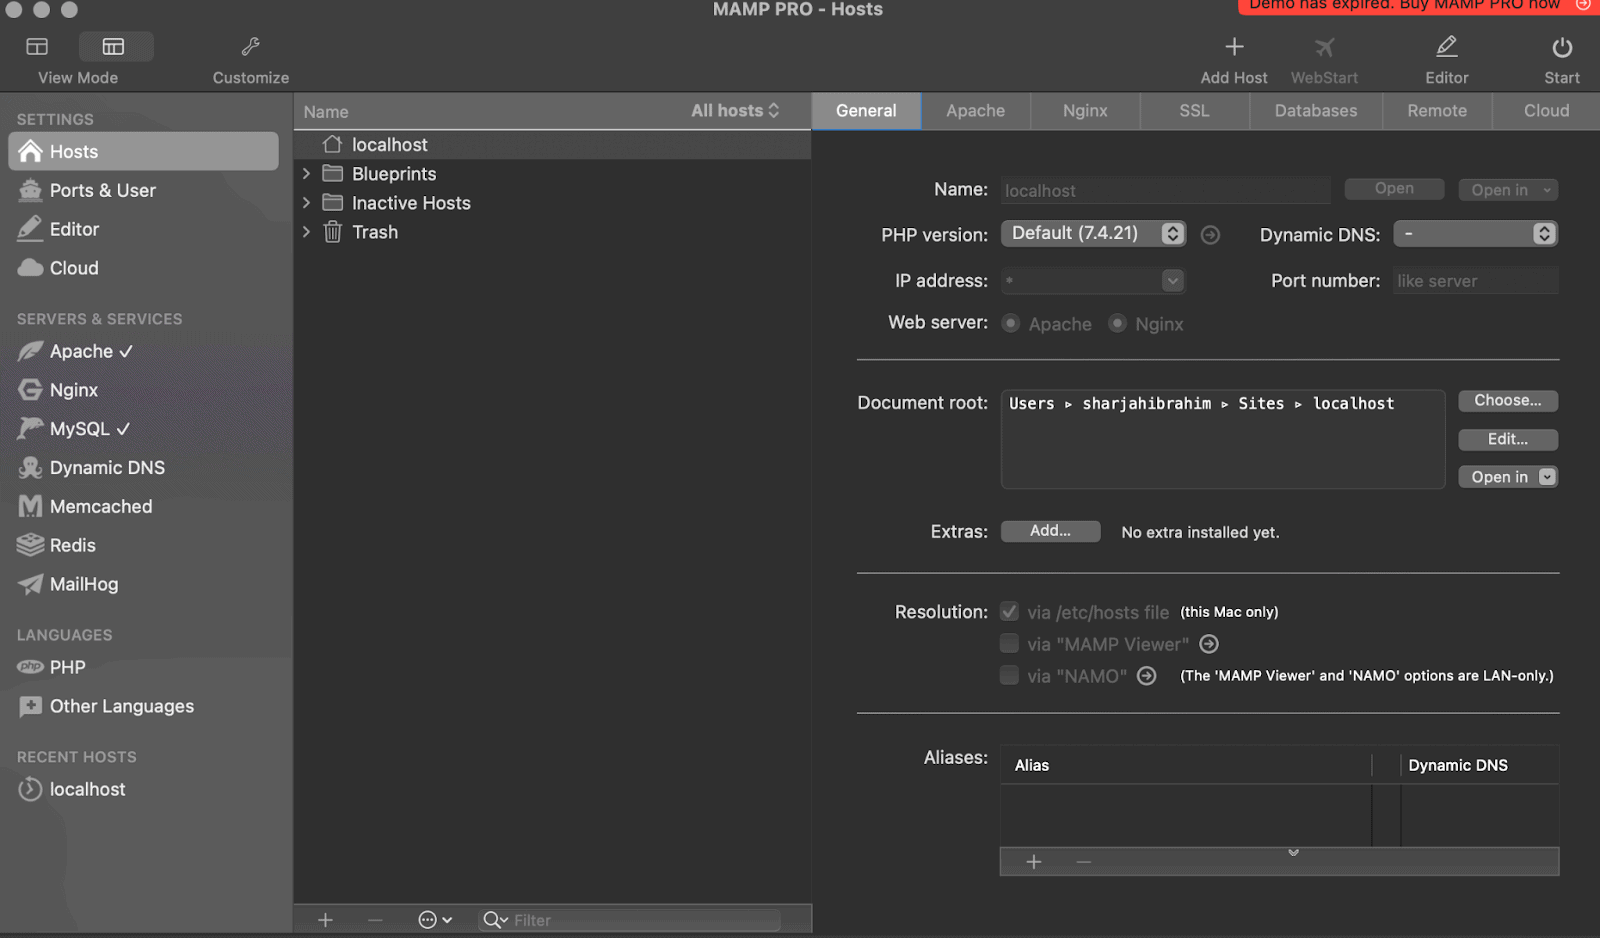
Several comprehensive WordPress configuration tools, like WAMP, MAMP, LOCAL, etc., are available to make the process smoother.
You must choose a configuration tool compatible with your particular machine.
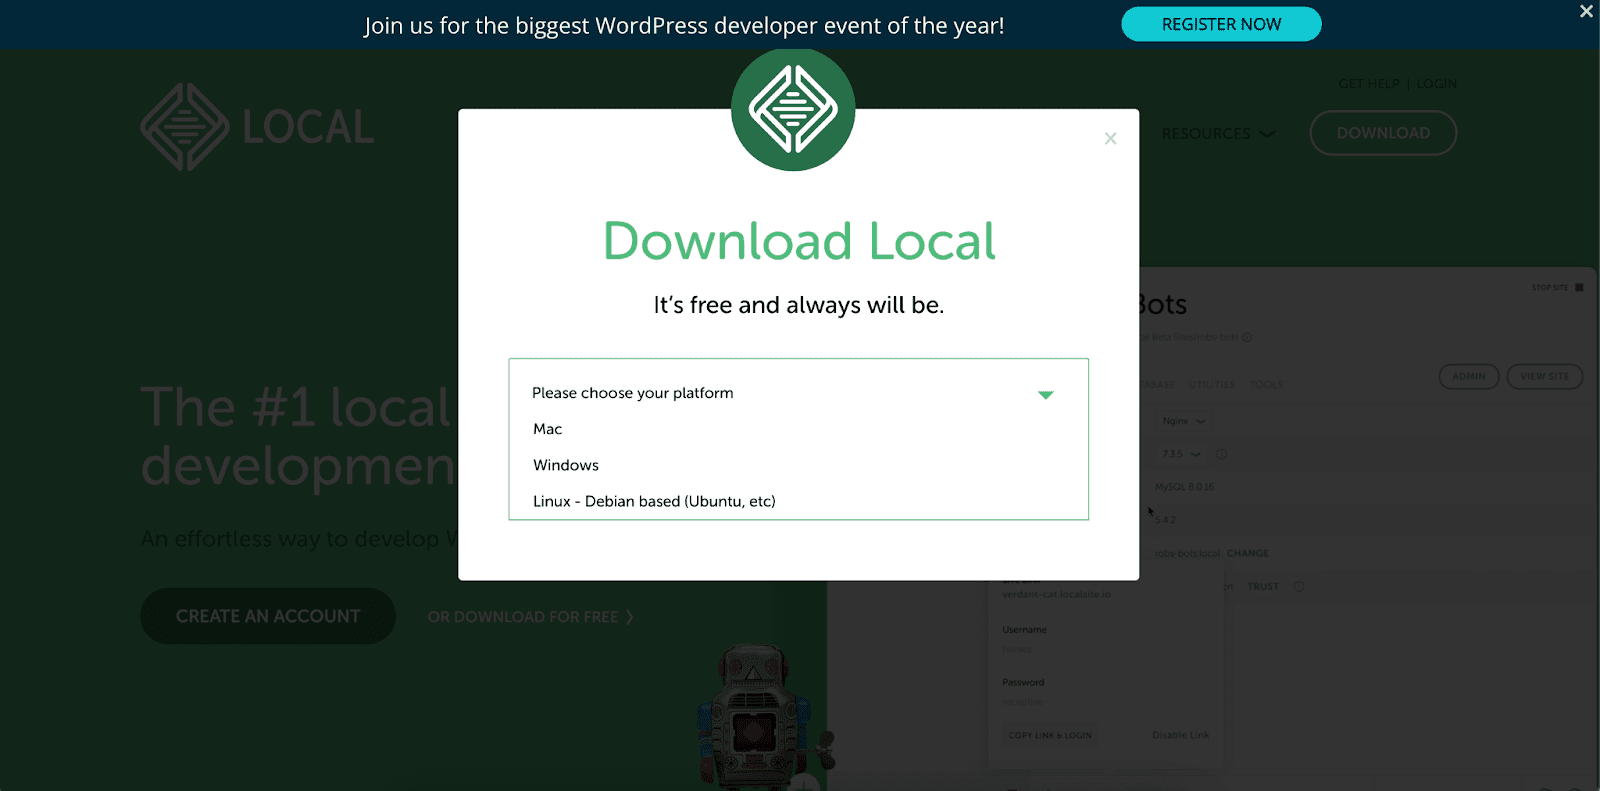
The tools include MySQL, PHP, and other WordPress configuration files. Check out my guide about installing WordPress locally to find the step-by-step instructions.
After developing a WordPress site on your local host, you can launch it online. This requires web server software like nginx and a domain name.
You can also host your locally-developed WordPress site on a commercial web hosting provider online by loading your site data to the server.
Similar Tutorials To Check Out
You can comfortably perform various advanced-level website configuration activities with WordPress.
Check out the following tutorials:
- How to Create a WordPress Staging Site: Tweak your website’s settings and content without affecting user experience by exploring how to create a WordPress staging site.
- How to Reinstall WordPress: Avoid troubleshooting complicated errors and bugs by learning how to reinstall WordPress and restore your site.
- How to Use WordPress With a CDN: Improve user experience and your site’s SEO ranking by discovering how to use WordPress with a CDN.
Wrapping Up
You might have heard the debate about the WordPressCom website vs. the WordPressOrg site. The latter refers to a self-hosted WordPress website.
You can install and self-host WordPress by following the detailed steps in my guide, although it may incur some expenses.
I recommend avoiding a local WordPress installation, especially if you don’t have advanced web development skills.
How helpful is my WordPress tutorial? Please let me know in the comments. You can also share this guide with others and help them grow.
