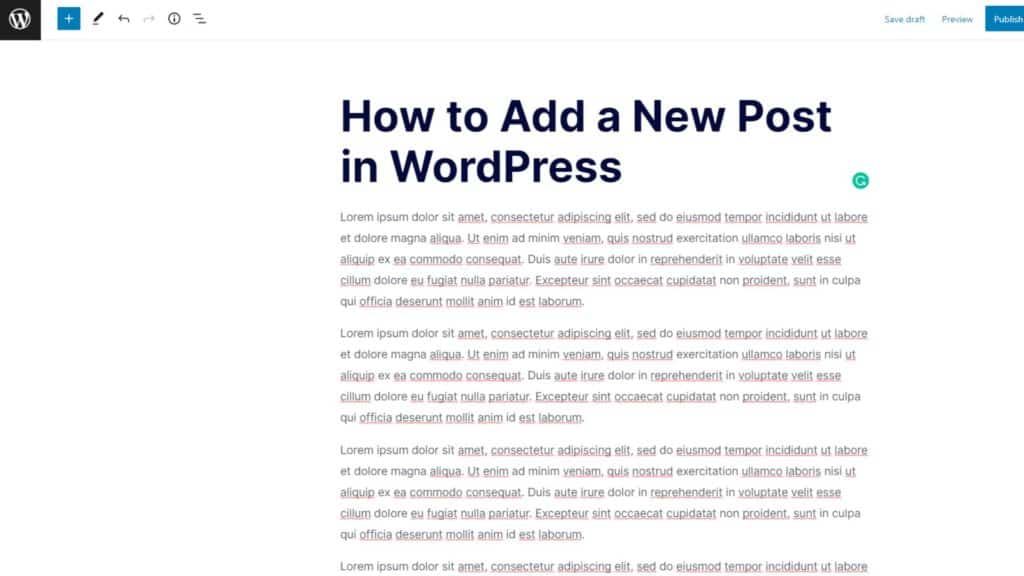
Everyone knows that WordPress is the best content management platform.
More than 455 million websites trust it.
Easy-to-use interface and simple publishing process make WordPress the first preference of most content creators.
To be honest, alternatives to WordPress aren’t nearly this easy to use.
Though, it is easy to add a new post in WordPress.
But, some new users might find it tricky to add the first post in WordPress.
So, to help those users, we have this complete guide on “how to add a new post in WordPress.”
Before we do, let’s first cover the basics of WordPress posts.
- What is a WordPress Post?
- What are WordPress Classic and Block Editors?
- WordPress Classic vs. Block Editors: Which is Better?
- Things You Will Need to Add a Post in WordPress
- How to Add a New Post in WordPress: Step-by-Step Guide
- How to Add a New Post in WordPress Classic Editor?
- Let’s Publish Your First Post on WordPress Now!
What is a WordPress Post?
A WordPress post encompasses the website’s blog section.
In addition, it contains content for publication purposes.
You can organize, categorize or pin your posts. WP posts appear in reverse chronological order.
It means the newest content shows at the top.
You can add or edit your WordPress posts from the Post menu on the left side of your dashboard.
What is the Difference Between a WordPress Post and Page?
WordPress pages showcase static content like homepage, service pages, etc.
Pages define the structure of your website.
For instance, these are all pages on the HubSpot website:
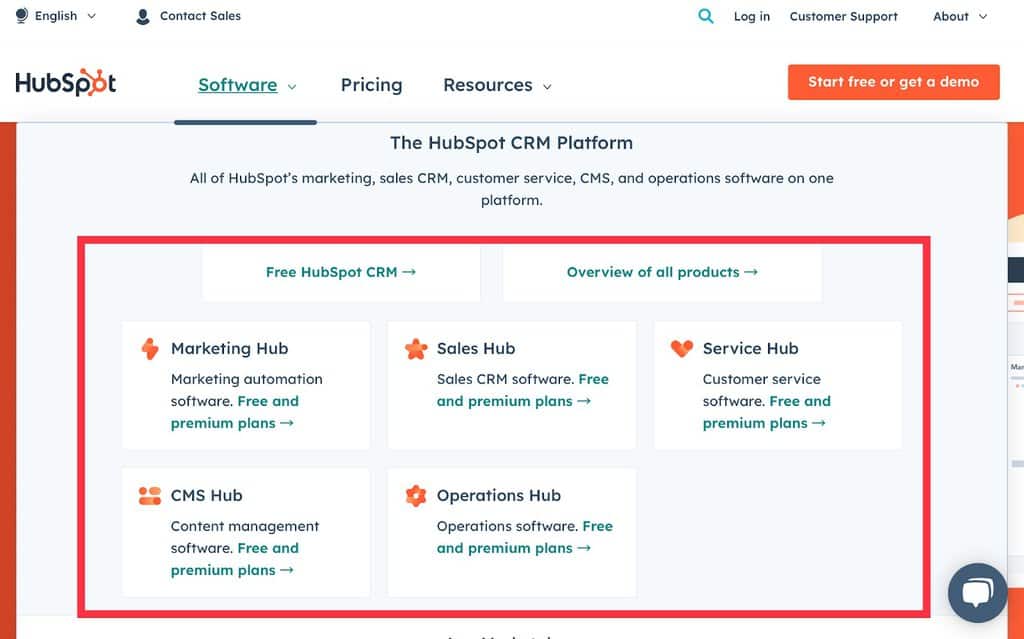
Contrary, posts are often updated in chronological order.
It creates your blog section.
Here look at HubSpot’s posts, for instance:

What are WordPress Classic and Block Editors?
WordPress has two editors to add a new post or page.
Classic and Block editors have different formatting styles and layouts.
It will help if you learn to work around both to publish a post in WordPress.
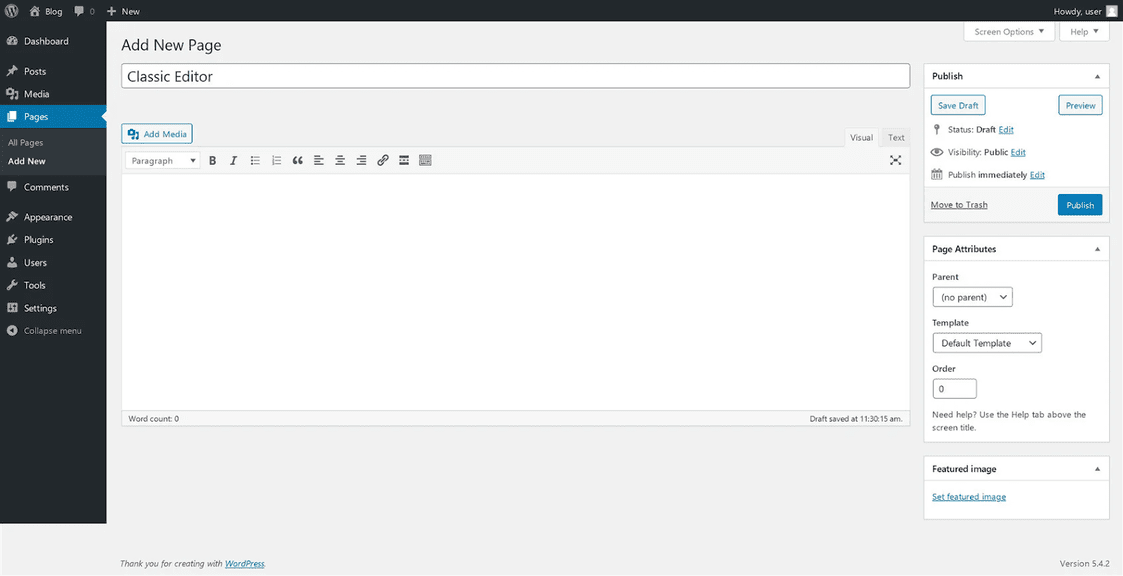
The Classic editor has a formatting toolbar similar to Microsoft Word or Google Docs.
In addition, it has both a visual editor and a text editor to edit posts using HTML codes.
Here’s how the WordPress Classic editor looks:
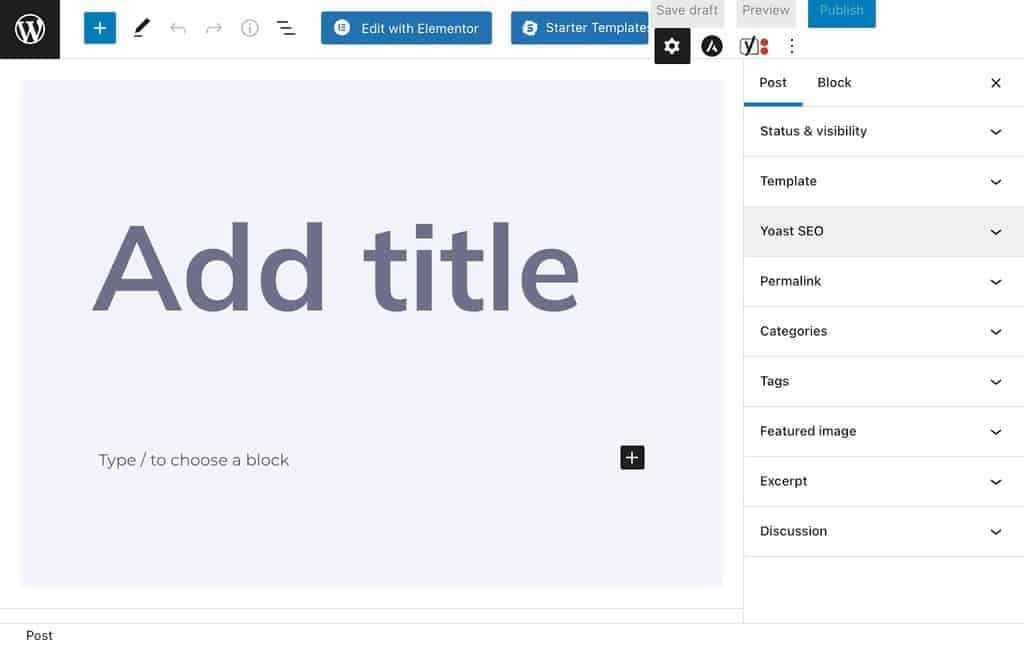
The Block editor, the Gutenberg Editor, uses blocks to format content.
It is the latest WordPress development with an easy drag-n-drop menu.
Here’s how the WordPress Block editor looks:
WordPress Classic vs. Block Editors: Which is Better?
Let’s look at this table to understand which WordPress editor is better:
| Key Difference | Classic Editor | Block Editor |
| Interface | Old and clunky | Fast and organized |
| Performance | Slow, often crashes | Fast, regularly updated |
| Easy-to-use | No | Yes |
| Good For | Technical users | Non-technical users |
Things You Will Need to Add a Post in WordPress
Adding a new post to your WordPress site is pretty straightforward if you have the following thing in order:
- Your content copy is ready — formatted and proofread
- All the photos and videos are in the correct format
- You have logged to your WordPress website using the proper role to add a post — you will get an error if your role isn’t correct
How to Add a New Post in WordPress: Step-by-Step Guide
The process of adding a post in WordPress is easy.
The initial steps to upload and edit posts on both WordPress editors are the same.
But, due to the different outlooks of both editors, there are a few variations in the steps.
Thus, we have explained how to add a new post in WordPress Classic and Block editor separately.
How to Add a New Post in WordPress Block Editor?
In December 2018, WordPress launched Block editor with a clean interface and powerful features.
It is a default WordPress editor now.
Here’s how you can add a new post in the WordPress block editor:
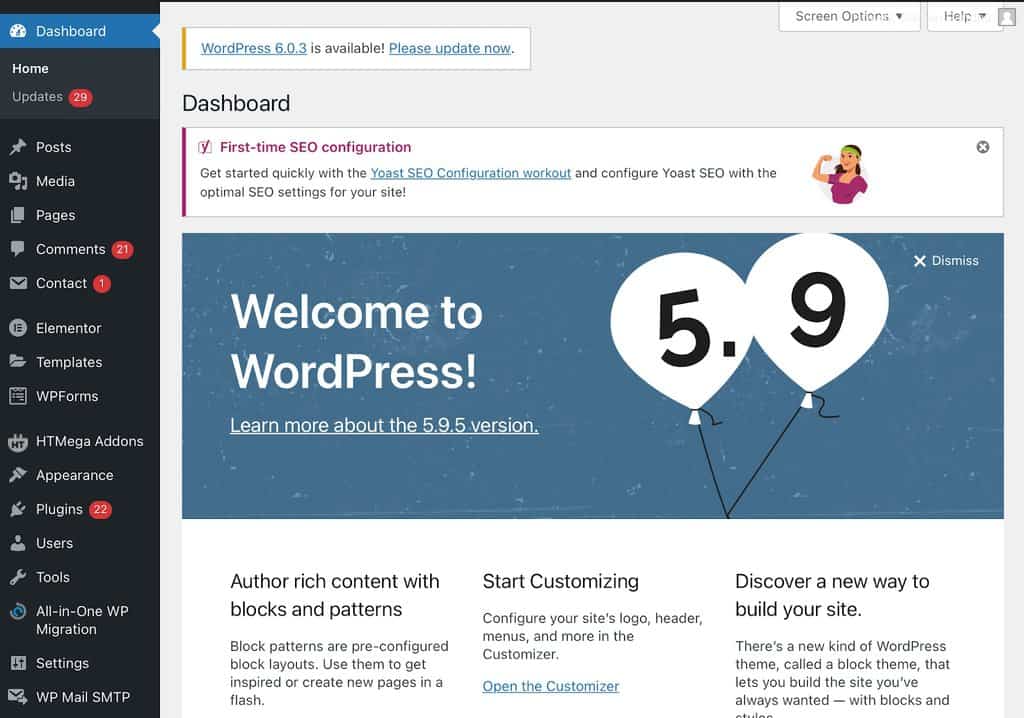
Step 1. Open Your Editor
Foremost, log into the WordPress dashboard and go to Post > Add New from the left pane.
Step 2. Add a Heading & Content Blocks
At the top, you can see a default block to add your post’s title or H1 tag.
Just copy/paste your blog’s heading there.
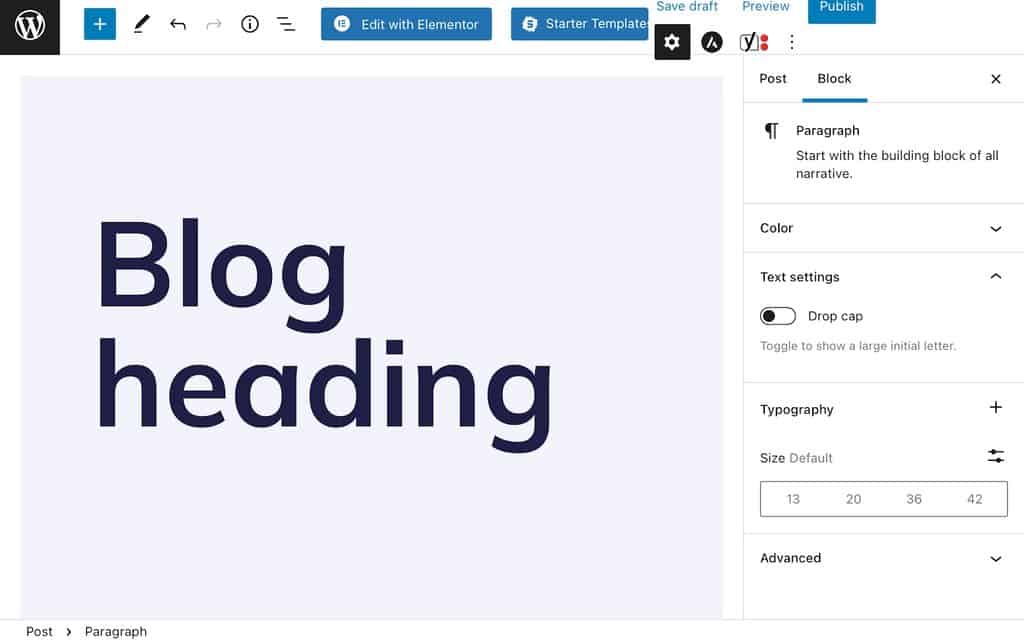
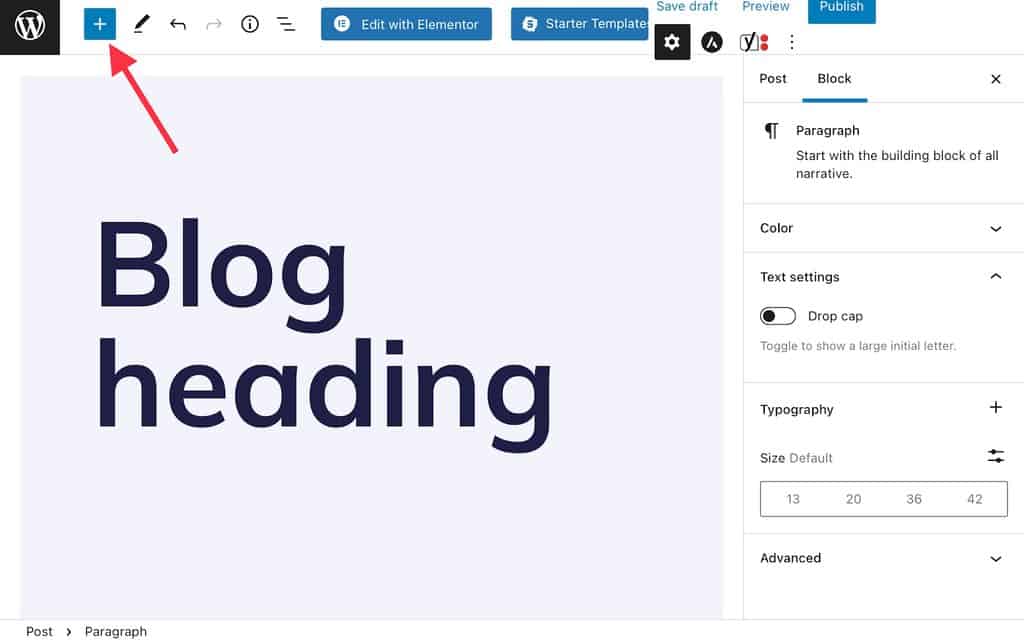
You need to insert a block to add the rest of your content.
Click on the ‘+’ button to add a content block.
You can also use keyboard shortcuts to add blocks.
For example, press the Shift+Alt+H keys to insert a new block before the selected one.
Step 3. Format Your Content
After writing or drafting your content, you need to format it for better readability.
Select a content block you want to format, and a toolbar will pop up over it.
You can format your content using heading tags, hyperlinks, bullet points, and many other features.

You can also select multiple blocks to format them together.
Step 4. Add Images and Videos
A study shows content with photos and videos performs 94% better on search results.
So, between your content blocks, add a few images and video blocks to make your content attractive.
You can add an image or video block by clicking on the ‘+’ button from the top-right corner.
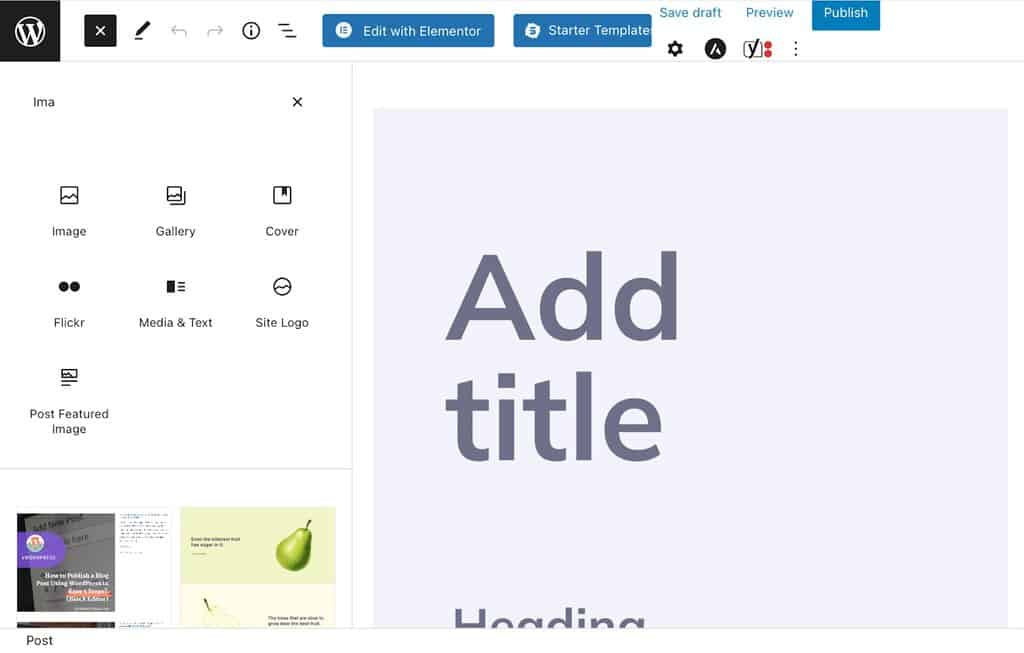
Suppose you have selected the image block.
Then, you can see three options on your screen to upload your images:
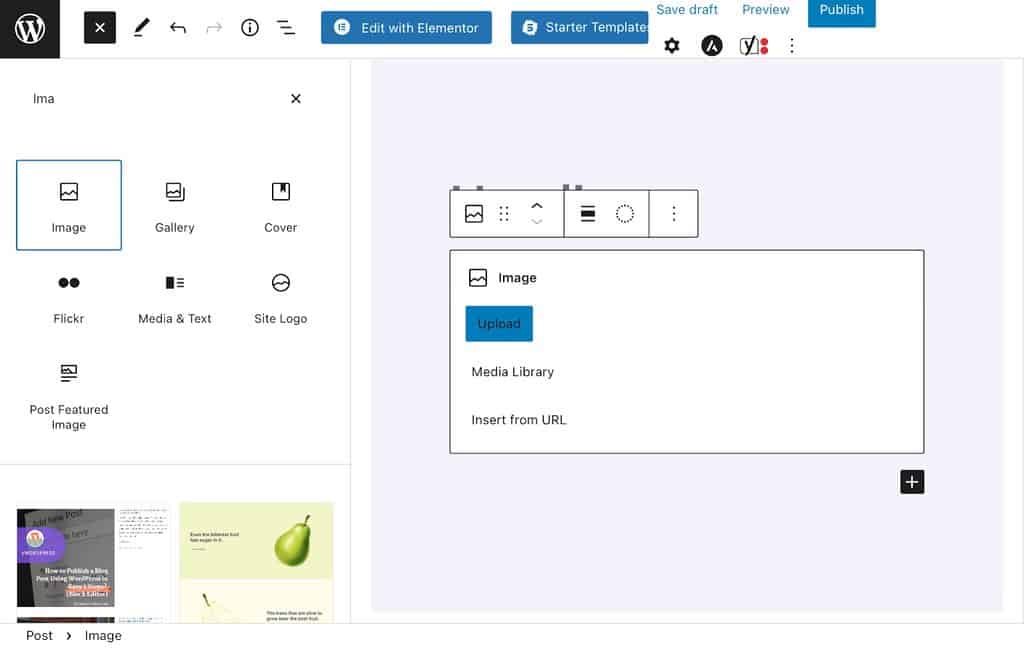
- Upload — add an image from your system
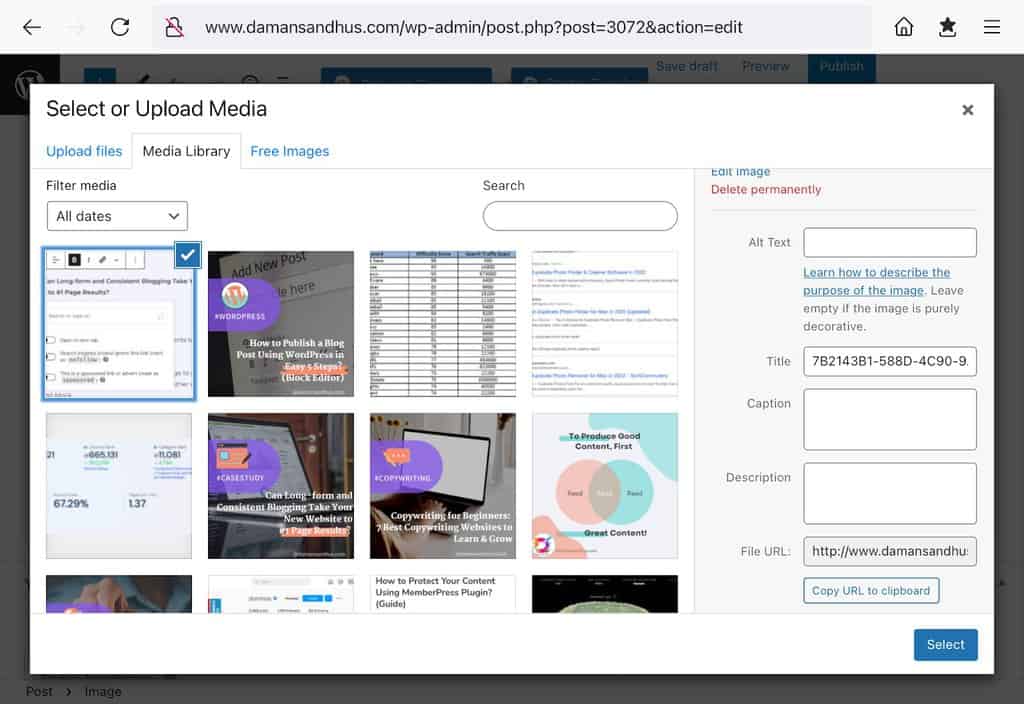
- Media Library — choose an image already uploaded to your WordPress gallery
- Insert from URL — copy/paste an image URL from any other website
Don’t forget to optimize your images after uploading, like adding alt text, captions, etc.
It helps to improve your SEO score.
The process of adding videos to your content is the same.
The best thing is that you can copy/paste the video URL in a simple paragraph or any other content block, and WordPress will turn it into a video embed block.
Step 5. Optimize Your Post
Now move to the right-hand side and work on all the tabs under the Post option.
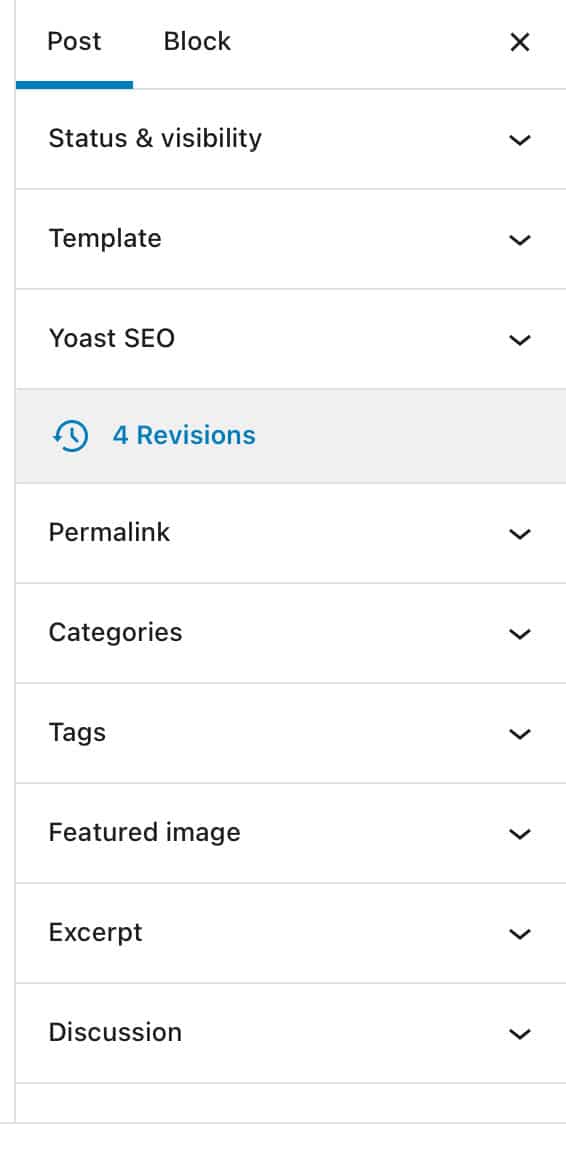
Add Categories and Tags
Categories and tags help to organize your content into sections.
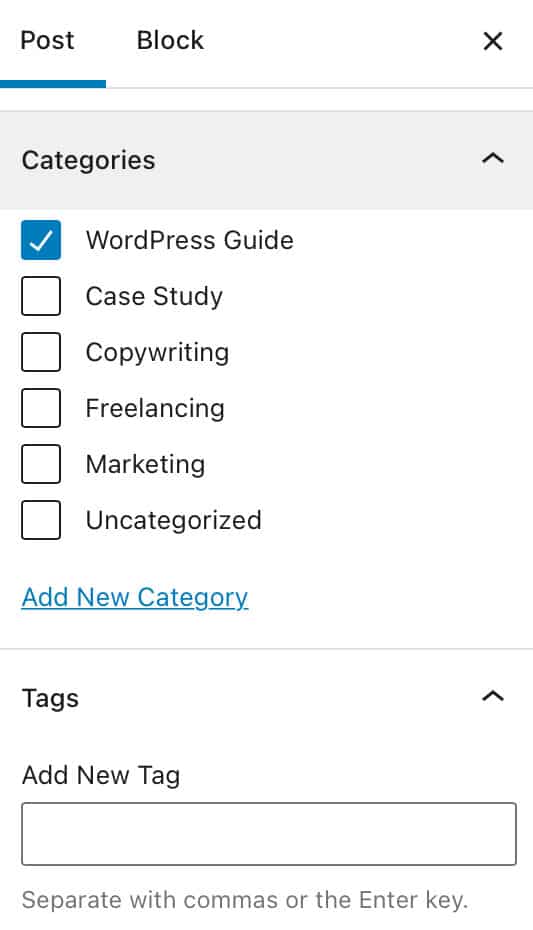
These taxonomies make it easier for search engines and readers to find the right posts on your website.
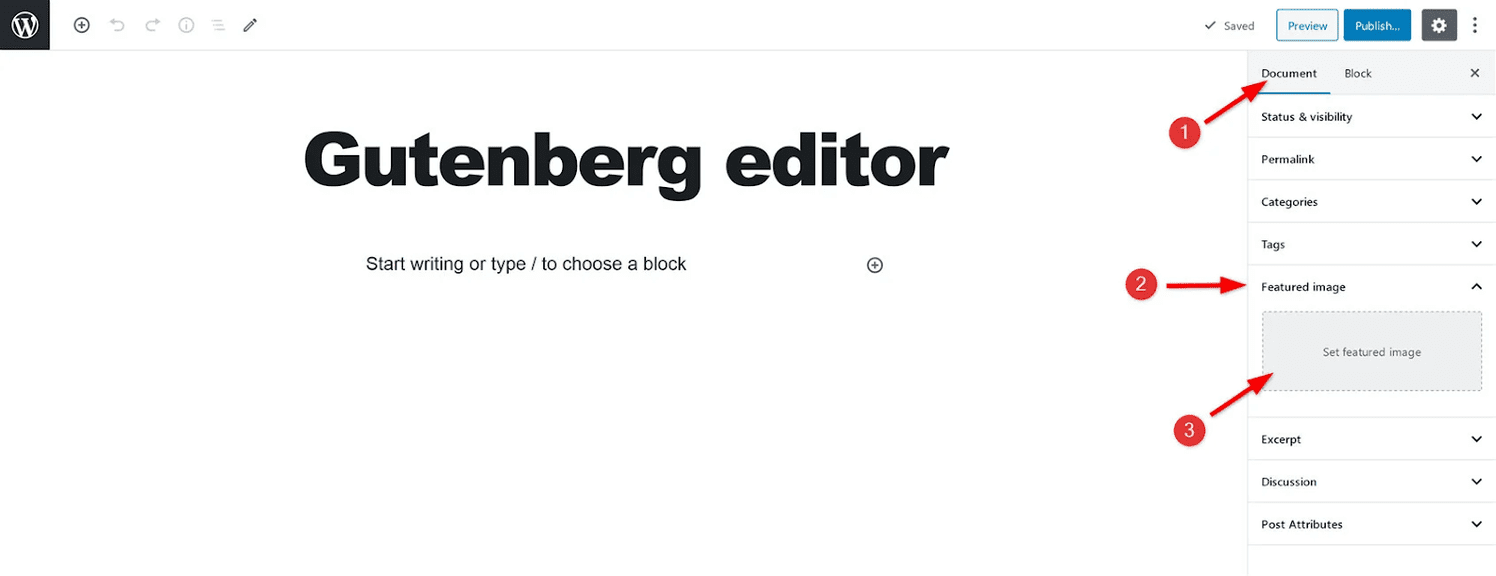
Add Featured Image
A featured image is the main post image that represents the content.
To include a featured image, click the ‘Set featured image button > select or upload the image.
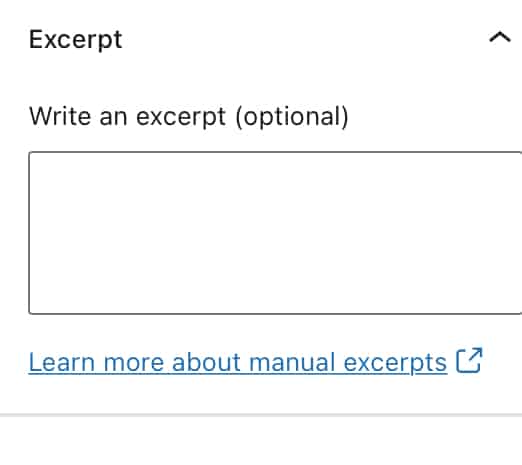
Add Excerpts
It is a blog post summary.
Usually, WordPress themes generate auto excerpts taking lines from the first paragraph of your content.
But you can also customize excerpts for better results.
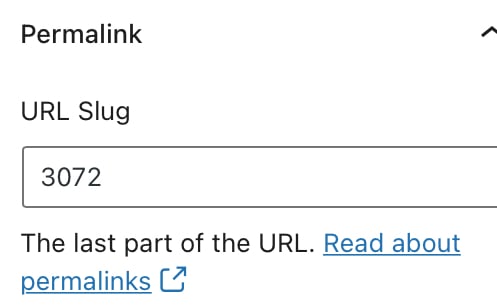
Change URL Slug or Permalink
Default WordPress settings are set to use blog titles as URLs.
But, SEO-friendly URLs are short and primary keyword-focused.
So, don’t forget to customize your permalink.
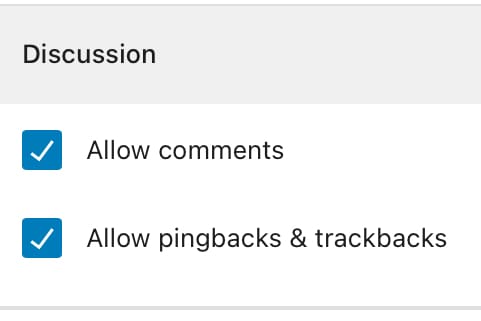
Disable or Enable Comments
WordPress allows readers to leave comments on your post.
This option is enabled by default.
But, sometimes, spam comments can increase your website size.
In that case, disabling comments is also optional before publishing from the Discussion tab.
Configure Plugin Settings
Do you use third-party plugins to optimize your post?
For example, Yoast SEO to make posts SEO-friendly or WPForms to add a contact form.
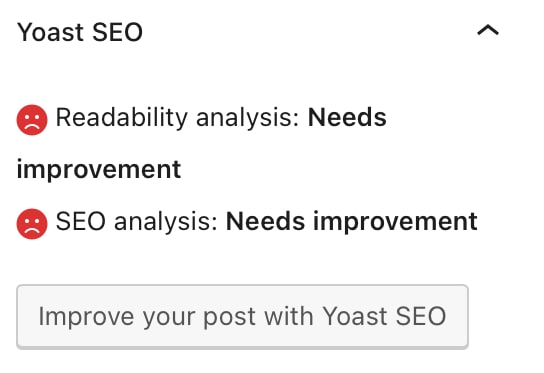
You can also find a tab with your plugin name on the right side.
Click on it and optimize your plugin settings.
Step 6. Publish Your Post
You are now ready to publish your post.
Expand the Status & Visibility tab and choose the options to publish, like:
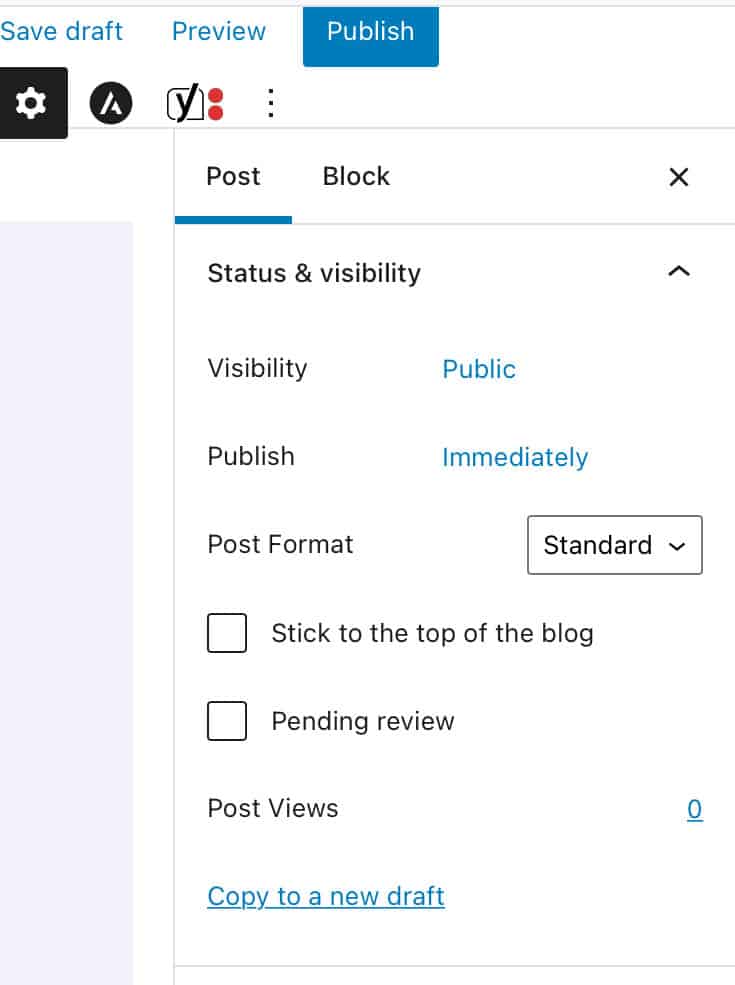
- Save the draft link for later review.
- The preview button helps to view how your post will look on different screens.
- Control the post visibility to make it — Public, Private, or Password Protected.
- You can also schedule your post.
- Click on the ‘Stick to front page’ checkbox to make the post featured.
- There are also options to change the author, delete a post or make it pending for review.
- If everything is good, hit the Publish button and make your post live.
How to Add a New Post in WordPress Classic Editor?
WordPress no longer supports the Classic editor.
But, some users still prefer it over the Block editor.
Though WordPress or I don’t recommend the Classic editor, if you still want to use it, let’s see how that works.
This image sums up how to add a new post in the Classic editor:
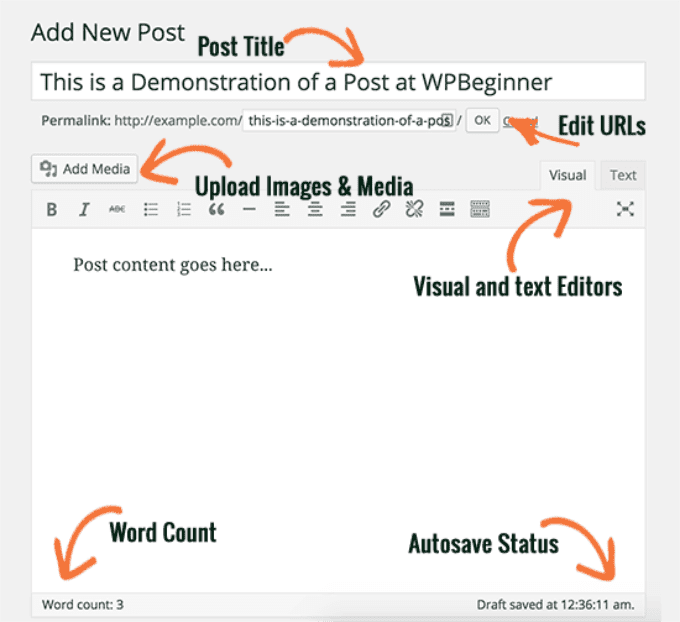
All the formatting options are on the top.
You can edit your content like any Word Doc.
The options to add media and edit permalink are also on the top.
The rest works the same way as the Block editor.
You will also find all the post-editing options, like categories and tags, on the left side.
Go to the screen options tab to disable the full-height editor.
Then, you can resize the content area and enjoy distraction-free functions.
Apart from the clean look and robust features, you will not find much difference while drafting posts on both WordPress editors.
Let’s Publish Your First Post on WordPress Now!
There you go, peeps! You now know how to add a new post in WordPress using the Classic and Block editors.
As you can see, publishing a post in WordPress and promoting your content is pretty simple.
On a parting note, I would like to give one mantra to generate traffic on your post — consistency.
Not so original advice?
You must have heard a hundred times that consistency makes you grow online.
The advice is old but always works.
It worked for us at Bloggingtips.com and can work for you as well.
So, master the WordPress posting process and publish fresh content daily!
For more WordPress blogging tips, stay tuned with us.
